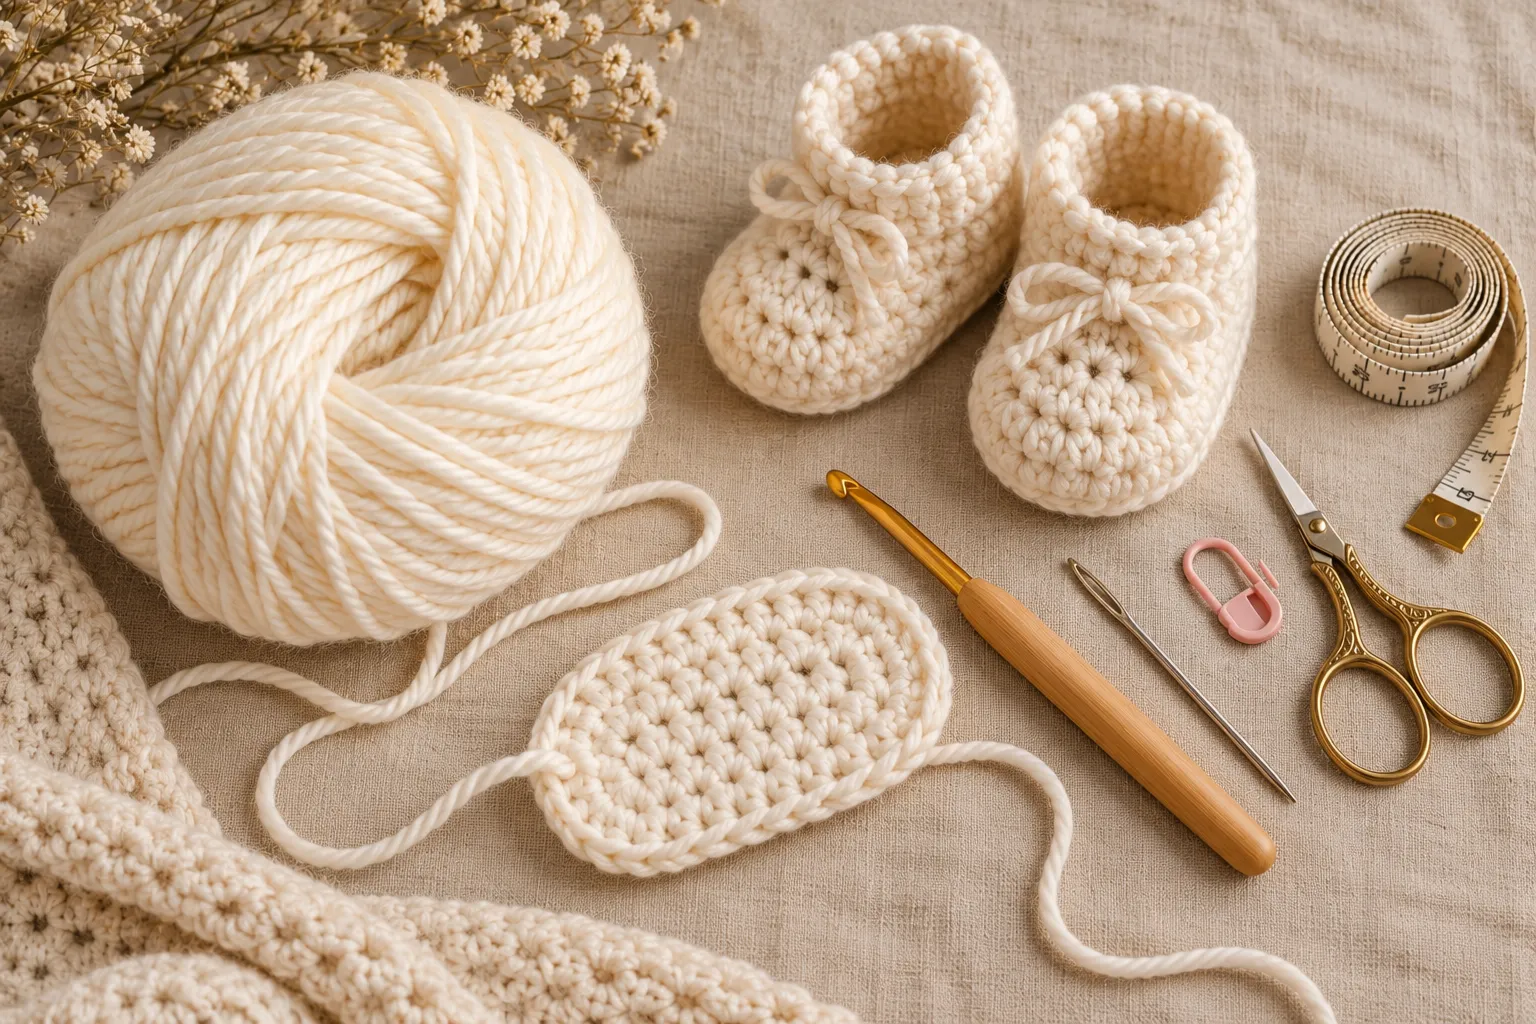
These adorable crochet baby booties are a quick, beginner-friendly project that makes a beautiful handmade gift for a newborn or baby. The pattern includes 4 baby sizes, making it easy to create a pair for different stages of growth.
With soft yarn, a simple sole, and a gently shaped upper, these booties are perfect for baby shower gifts, newborn photography, coming-home outfits, or a handmade baby gift set.
Why You’ll Love This Crochet Baby Booties Pattern
- Free crochet pattern
- Beginner-friendly construction
- Includes 4 baby sizes
- Uses basic crochet stitches
- Quick project for handmade gifts
- Easy to customize with different yarn colors
- Perfect for matching baby blankets, hats, or cardigans
- Great stash-busting project for small amounts of yarn
Crochet Baby Booties Sizes
The pattern can be adjusted for four approximate baby sizes:
| Size | Approx. Foot Length | Approx. Age |
|---|---|---|
| Size 1 | 3.25 in / 8.3 cm | Newborn |
| Size 2 | 3.75 in / 9.5 cm | 0–3 months |
| Size 3 | 4.25 in / 10.8 cm | 3–6 months |
| Size 4 | 4.75 in / 12 cm | 6–12 months |
Baby feet vary considerably, so use the finished foot measurement as your primary guide rather than age alone.
Materials
You don’t need many supplies to make these little booties.
- Soft baby-weight or DK yarn
- Crochet hook appropriate for your yarn
- Yarn needle
- Small scissors
- Stitch marker
- Measuring tape
For a classic baby look, try ivory, cream, blush pink, dusty blue, sage green, beige, lavender, or soft gray.
Yarn Choice
Choose a yarn that is:
- Soft against delicate skin
- Machine washable when possible
- Comfortable rather than scratchy
- Easy to maintain
- Suitable for baby garments
A smooth yarn is especially helpful for beginners because you can see your stitches more clearly.
Avoid very fuzzy yarn for your first pair because it can make individual stitches difficult to identify.
Crochet Abbreviations
US crochet terminology:
- ch — chain
- sl st — slip stitch
- sc — single crochet
- hdc — half double crochet
- dc — double crochet
- st — stitch
- sts — stitches
- BLO — back loop only
- rep — repeat
Before You Start
The bootie is worked from the sole upward.
You will first crochet an oval-shaped sole around a foundation chain. The sole is then built upward with a few rounds before the toe and heel are shaped.
For all four sizes, the basic construction remains the same. You simply adjust the number of stitches and rounds according to the size you want.
Free Crochet Baby Booties Pattern
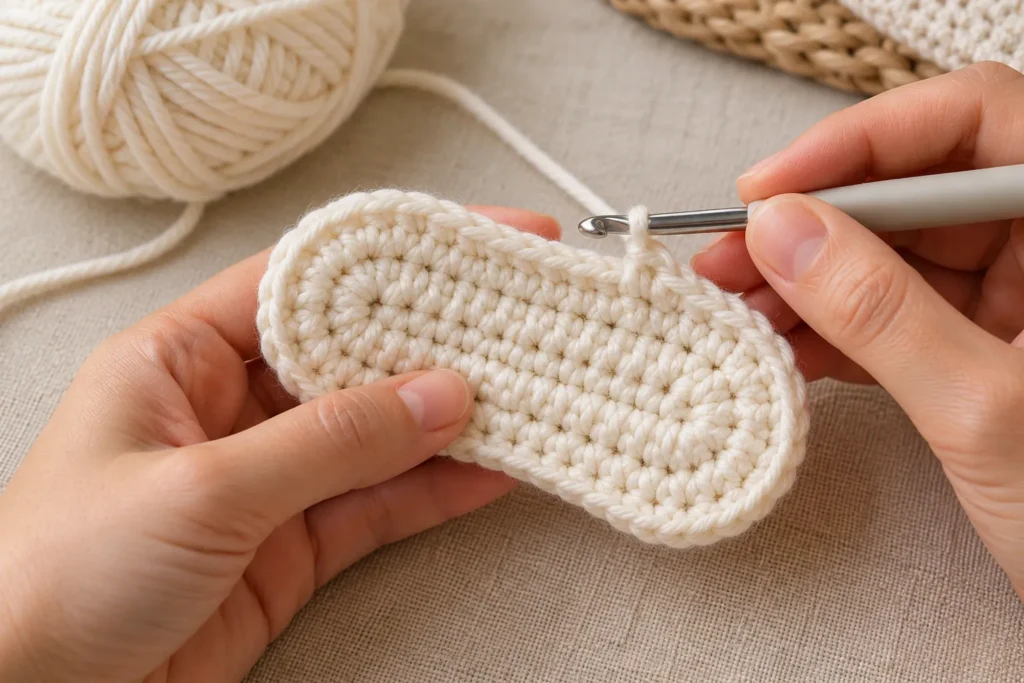
Step 1: Crochet the Sole
Start with the foundation chain corresponding to your chosen size.
Size 1: Chain 8
Size 2: Chain 9
Size 3: Chain 10
Size 4: Chain 11
Work single crochet along one side of the chain.
When you reach the final chain, place several stitches into the end stitch to turn around the chain.
Continue working along the opposite side of the foundation chain.
Join with a slip stitch.
You should now have a small oval-shaped sole.
Step 2: First Sole Round
Chain 1.
Work single crochet around the entire oval.
Pay particular attention to the curved ends. These stitches create the rounded toe and heel portions of the sole.
Join with a slip stitch to the first stitch.
Do not pull the stitches excessively tight.
A slightly relaxed tension will give the sole a softer and more comfortable shape.
Step 3: Build the Sole
Continue working additional rounds around the sole.
Use increases around the curved ends while keeping the longer sides relatively straight.
This creates the characteristic baby-bootie sole shape.
Check your work against the measurements:
- Newborn: approximately 3.25 inches
- 0–3 months: approximately 3.75 inches
- 3–6 months: approximately 4.25 inches
- 6–12 months: approximately 4.75 inches
If your gauge differs from the suggested measurements, adjust your hook size or number of rounds.
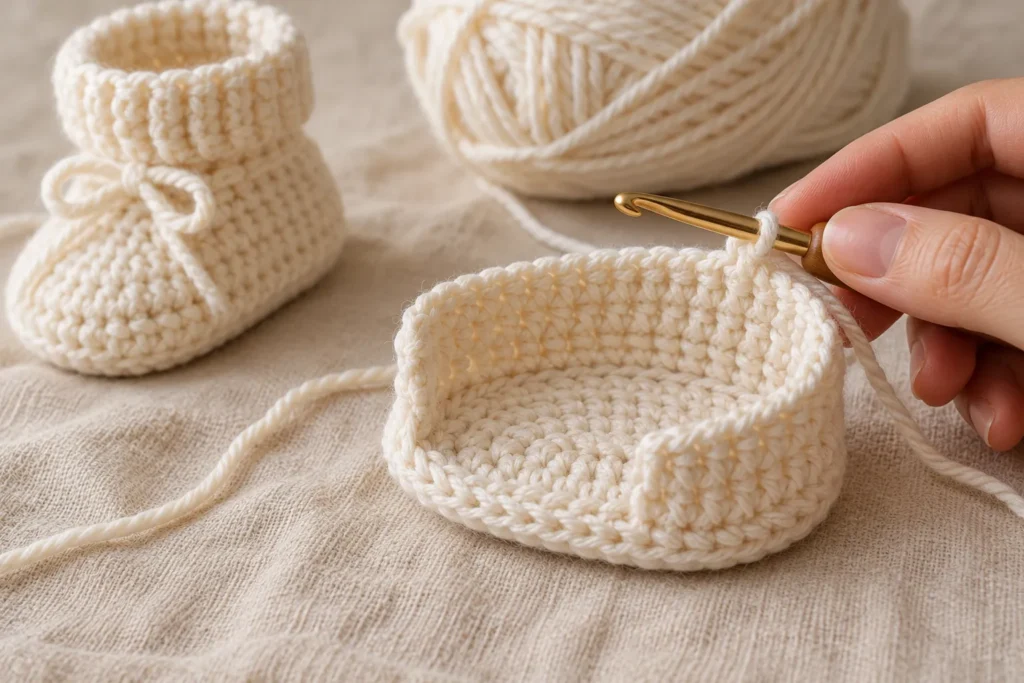
Step 4: Start the Bootie Walls
Once your sole reaches the desired length, stop increasing.
Work one round of single crochet evenly around the entire sole.
Instead of continuing to crochet outward, the stitches will now begin building vertically.
This creates the little wall around the baby’s foot.
For a more defined edge, you can work this round through the back loop only.
The BLO technique creates a subtle horizontal ridge that separates the sole from the upper section.
Step 5: Shape the Toe
The toe area is created by gradually reducing stitches across the front portion of the bootie.
Place a stitch marker at the center front.
Work normally around the heel and sides.
As you approach the toe, begin combining stitches using decreases.
A simple single-crochet decrease can be made by:
- Insert hook into the first stitch.
- Pull up a loop.
- Insert hook into the next stitch.
- Pull up another loop.
- Yarn over.
- Pull through all loops on the hook.
Repeat the decreases across the front section.
This gently curves the upper over the baby’s toes.
Step 6: Shape the Heel
After the toe has been shaped, continue working around the sides and back of the bootie.
Keep the heel section relatively straight.
If you want a slightly taller bootie, add one or two additional rounds before finishing the cuff.
For a low-cut slipper-style bootie, stop after the toe and heel reach the desired height.
Step 7: Create the Cuff
For a simple cuff, work 2–3 rounds of single crochet around the opening.
For a more textured finish, try half double crochet.
You can also work the final round through the back loop only to create a ribbed appearance.
A contrasting color can make the cuff stand out beautifully.
For example:
- Cream bootie + dusty pink cuff
- Beige bootie + sage cuff
- White bootie + pale blue cuff
- Gray bootie + ivory cuff
Step 8: Finish the Booties
Fasten off and leave a yarn tail.
Thread the tail onto a yarn needle.
Weave it carefully through the inside of the stitches.
Trim any excess yarn.
Repeat all steps for the second bootie.
Take your time when weaving in ends because baby projects should have secure finishing.
Optional Crochet Strap
For a Mary Jane-inspired design, add a small crochet strap across the top.
Attach yarn to one side of the opening.
Chain approximately 8–12 stitches depending on the size.
Attach the chain to the opposite side with a slip stitch.
Add a small decorative button if desired.
However, make sure any decorative components are securely attached and regularly inspected. For very young babies, avoiding detachable decorations altogether is the simplest option.
Optional Bow Detail
A tiny crochet bow can give the booties an especially sweet handmade appearance.
Make a small bow separately and securely sew it onto the upper.
For baby items, avoid loose or poorly secured embellishments.
You can also create the appearance of a bow using crochet stitches instead of adding a separate piece.
How to Make the Booties Larger or Smaller
One of the best things about this pattern is that it can be customized.
If the sole is too short, add another increase round.
If the sole is too long, remove one round.
If the bootie feels too narrow, use a slightly larger hook or add stitches around the curved sections.
If it feels too wide, use a smaller hook or reduce the number of increases.
Always measure the actual finished sole rather than relying entirely on age categories.
Beginner Tips
Count Your Stitches
Baby booties are small, so even one or two missed stitches can noticeably change the shape.
Use a stitch marker to identify the beginning of each round.
Keep Your Tension Consistent
Try not to crochet the first stitches very tightly and the later stitches loosely.
Consistent tension will give both booties a more matching appearance.
Make Both Booties Together
Instead of finishing one completely and then starting the other, you can alternate between them.
For example:
- Sole round 1 on bootie A
- Sole round 1 on bootie B
- Sole round 2 on bootie A
- Sole round 2 on bootie B
This makes it easier to keep their size and shape identical.
Measure the Sole
The sole length is more useful than the baby’s age.
Before finishing the upper, place the sole against the baby’s foot measurement when appropriate, or compare it with a suitable sizing chart.
Easy Color Combinations
Neutral colors work beautifully for baby booties.
Try:
Classic Ivory
Ivory yarn with a cream cuff creates a timeless handmade look.
Blush & Cream
Use cream for the main bootie and dusty pink for the cuff.
Sage & Beige
A muted sage upper with a beige cuff gives the booties a modern nursery aesthetic.
Dusty Blue
Soft blue paired with ivory works beautifully for a classic baby gift.
Lavender & White
A delicate lavender cuff adds a subtle pop of color.
Oatmeal & Cream
Perfect for a minimalist handmade baby wardrobe.
Matching Crochet Baby Accessories
These booties can easily become part of a coordinated handmade set.
Try pairing them with:
- Crochet baby hat
- Baby cardigan
- Crochet baby blanket
- Baby cocoon
- Crochet headband
- Small crochet star
- Baby mittens
A matching color palette makes the entire set look much more polished.
Crochet Baby Booties Gift Idea
These booties make a wonderful handmade baby shower gift.
Place the finished pair inside a small gift box lined with tissue paper.
Add a handmade baby hat or small blanket in the same color.
You can also create a simple neutral gift set using:
Booties + Hat + Baby Blanket
Choose one main yarn color and one subtle accent color to keep the set coordinated.
Common Problems and How to Fix Them
My Bootie Is Too Small
Your crochet tension may be tighter than expected.
Try using a slightly larger hook or adding an extra sole round.
My Bootie Is Too Wide
Too many increases around the curved ends can make the sole wider than intended.
Check your stitch count and reduce the number of increases.
The Toe Looks Too Pointed
The toe may need additional stitches or a different decrease distribution.
Spread the decreases across a slightly wider section of the front.
The Two Booties Don’t Match
This usually happens because of differences in tension or stitch count.
Count each round and compare the sole measurements before continuing.
The Opening Is Too Tight
Try adding one additional round without decreases.
You can also use a slightly larger hook for the cuff.
Baby Booties Safety Notes
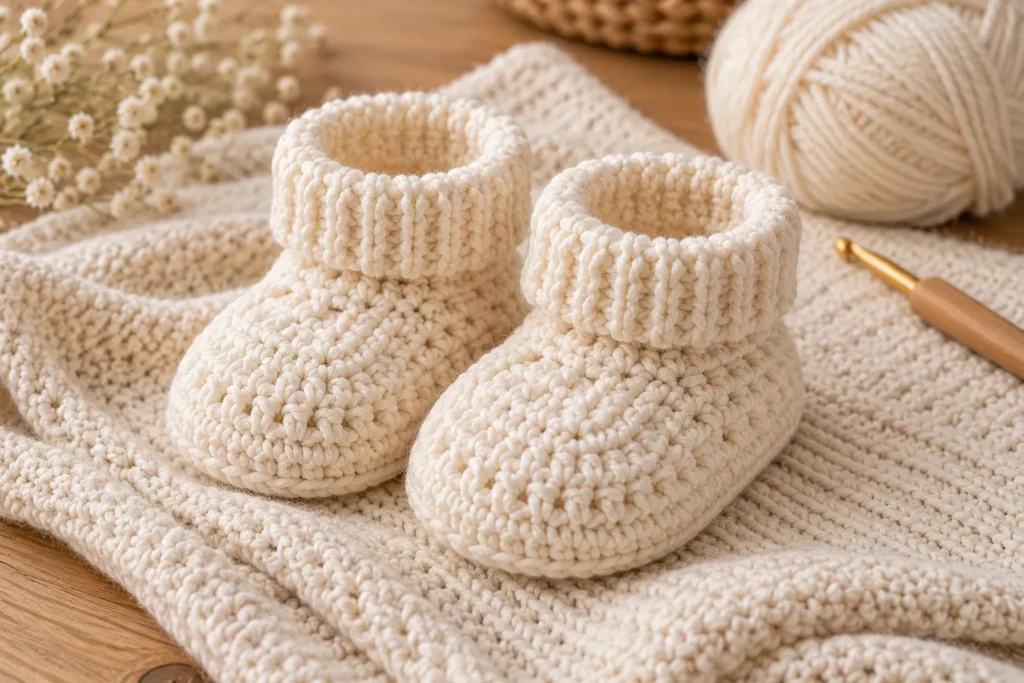
Crochet baby booties are generally intended as clothing accessories, but they should still be checked regularly.
Make sure:
- All yarn ends are securely woven in.
- Decorative pieces are firmly attached.
- There are no loose threads.
- The booties are comfortable and not restrictive.
- The baby’s feet are not overheating.
- The booties are removed if they become uncomfortable.
Never leave loose crochet accessories, buttons, bows, or other detachable decorations within a baby’s reach.
Frequently Asked Questions
Are these crochet baby booties beginner-friendly?
Yes. The basic construction uses common crochet stitches and simple shaping. Beginners should find the project manageable after becoming comfortable with single crochet, increases, and decreases.
How long does it take to crochet a pair?
Because the booties are small, an experienced crocheter may complete a pair relatively quickly. Beginners may need more time while learning the shaping and stitch counts.
What yarn is best for baby booties?
A soft, smooth, washable baby yarn is a practical choice. DK or baby-weight yarn works particularly well for lightweight booties.
Can I use cotton yarn?
Yes. Soft cotton can work well, especially for warmer climates. Choose a yarn that is comfortable and not stiff.
Can I make these booties without a strap?
Absolutely. The basic bootie can be finished with a simple cuff without adding a strap or decoration.
Can I make these in different sizes?
Yes. This pattern provides four approximate size ranges, and the sole can also be adjusted by changing the foundation chain, increases, or number of rounds.
Final Thoughts
These free crochet baby booties are a sweet little project for beginners and experienced crocheters alike. The four-size construction makes the pattern especially useful when creating handmade gifts for different stages of baby’s first year.
Keep the design simple with soft neutral yarn, or experiment with contrasting cuffs, stripes, and subtle textures. Once you understand the basic sole and upper construction, you can easily adapt the booties into your own signature design.