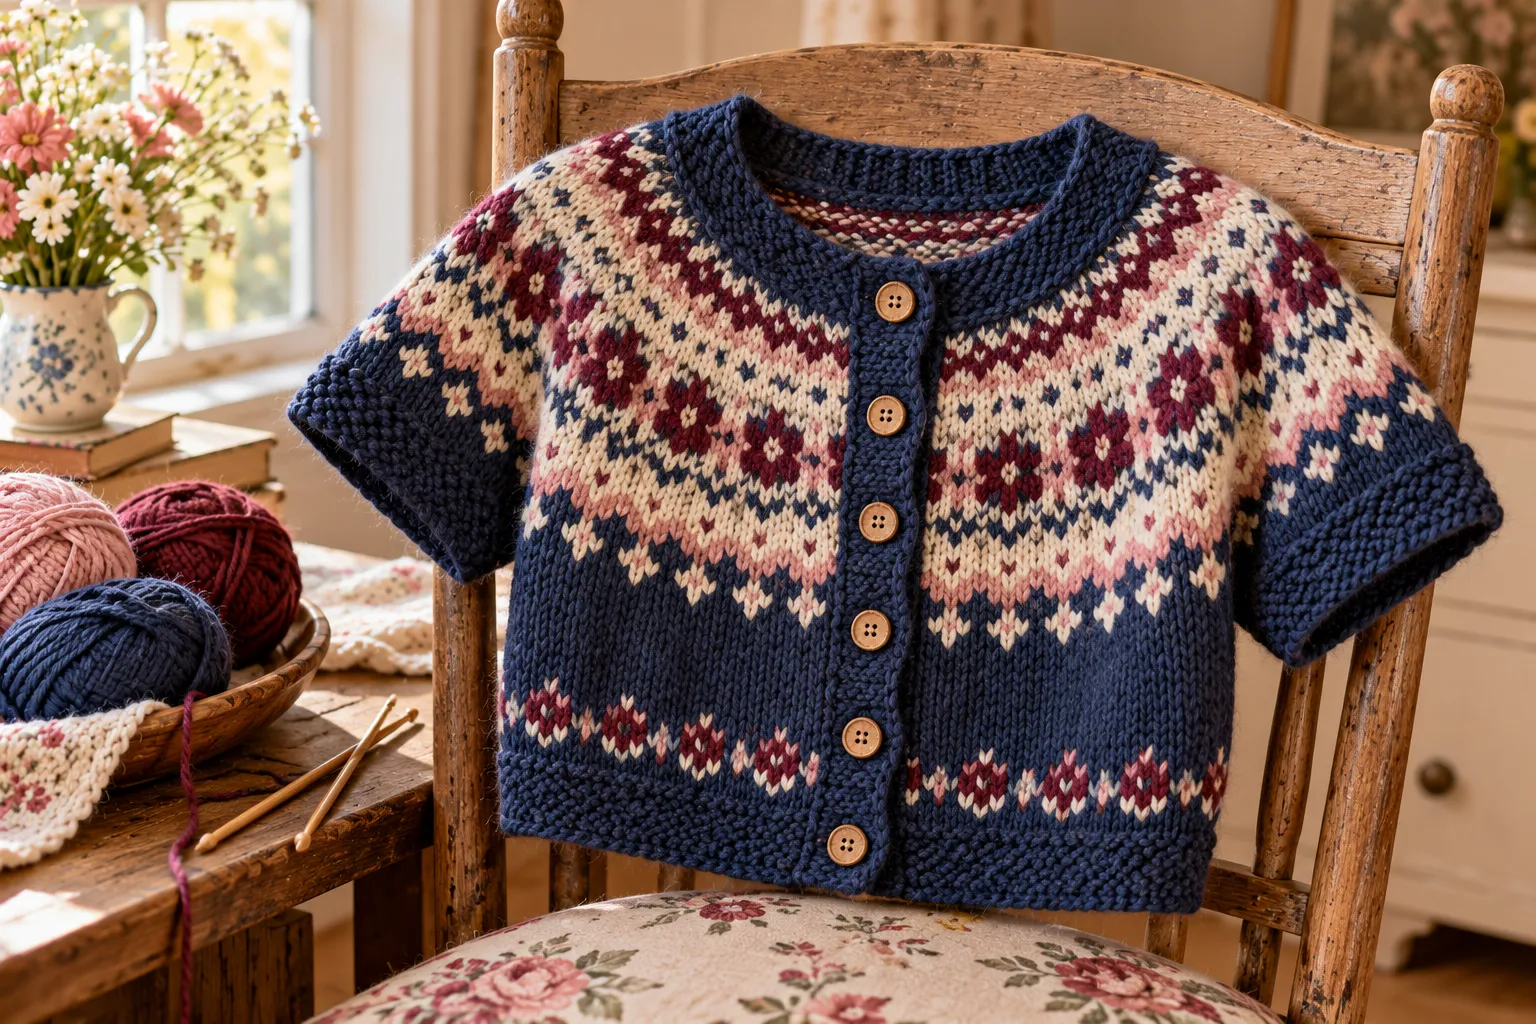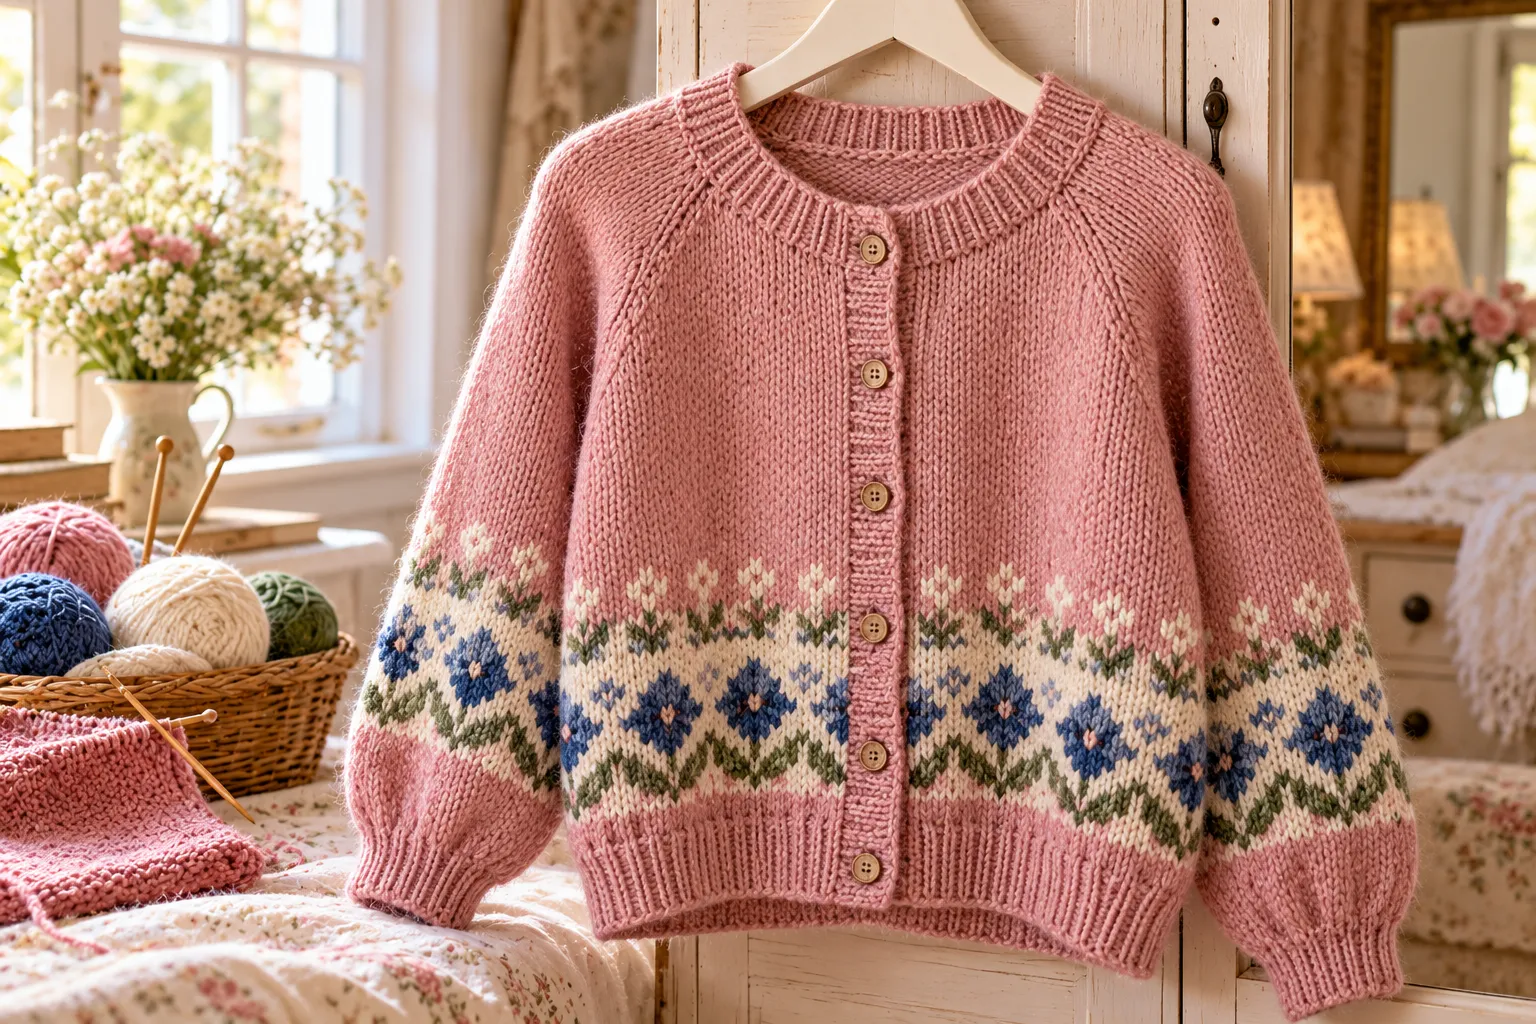
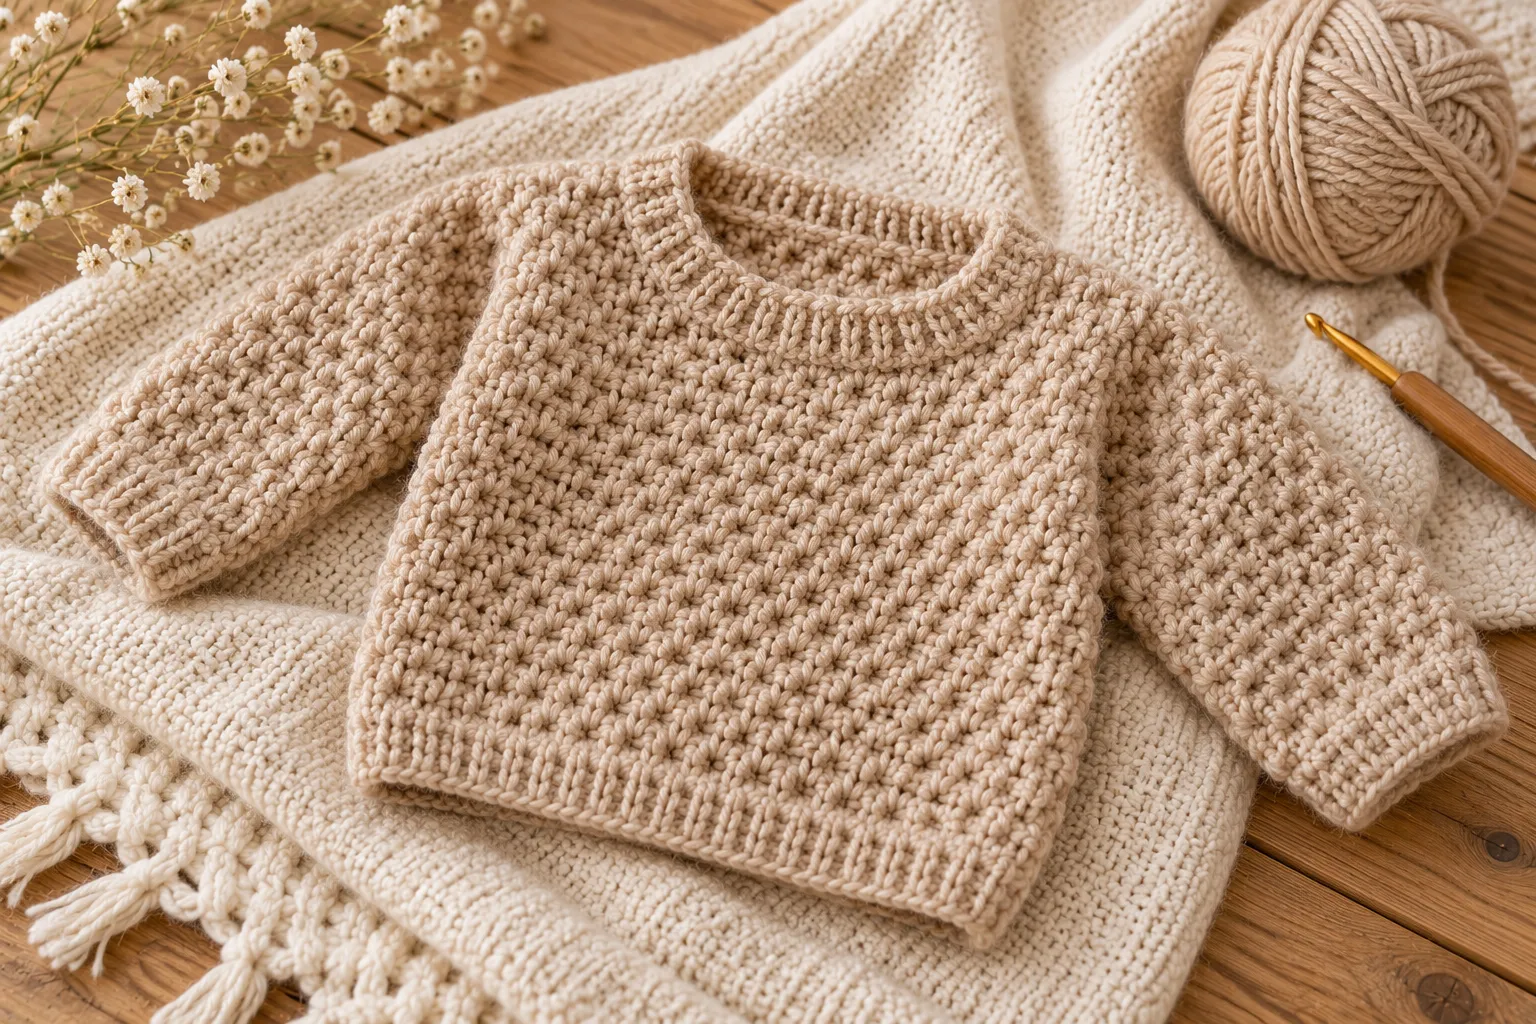
The Crochet Even Moss Baby Sweater is a beautiful handmade garment with a soft, textured appearance and a simple construction that makes it approachable for crocheters who want to try making baby clothing.
The even moss stitch creates a subtle woven texture without making the sweater overly bulky. Worked in a soft baby-friendly yarn, it produces a cozy layer that can be worn during cooler days or given as a thoughtful handmade baby gift.
This guide explains the materials, stitch technique, construction, sizing, finishing, customization ideas, and tips for creating a polished baby sweater.
Why Make an Even Moss Baby Sweater?
The even moss stitch is particularly attractive for baby garments because it creates texture while keeping the fabric relatively flexible.
This sweater is also a useful project for practicing:
- Even moss stitch
- Crochet garment construction
- Working consistent rows
- Shaping sleeves
- Creating neat edges
- Joining crochet pieces
- Working from measurements
- Finishing handmade clothing
The neutral texture also works beautifully with almost any color palette.
Materials You’ll Need
For a basic baby sweater, gather:
- Soft baby-friendly yarn
- Crochet hook appropriate for your yarn
- Yarn needle
- Scissors
- Stitch markers
- Measuring tape
- Blocking pins, optional
Choose a yarn that feels soft against delicate skin.
Machine-washable yarn can also be particularly practical for baby clothing because babies’ garments often need frequent washing.
Recommended Yarn
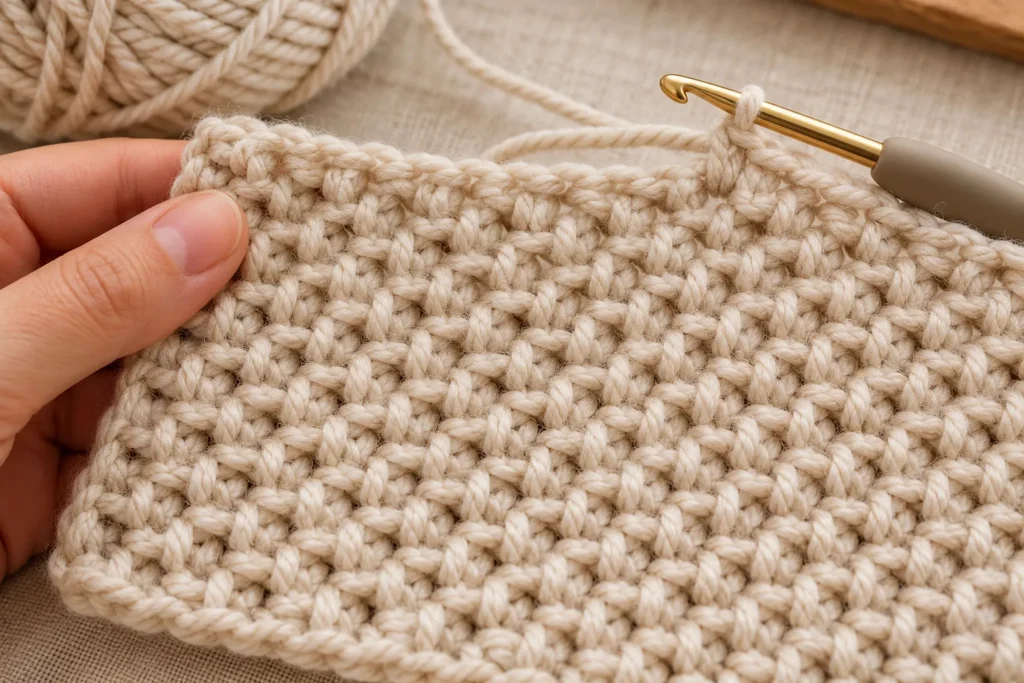
A soft DK or light worsted yarn can work well for this style of sweater, depending on the gauge and finished size you want.
Popular color choices include:
- Cream
- Ivory
- Oatmeal
- Beige
- Sage green
- Dusty blue
- Blush pink
- Lavender
- Soft gray
- Mustard
A neutral oatmeal or cream creates a timeless handmade look, while pastel colors give the sweater a more traditional baby aesthetic.
Crochet Abbreviations
The pattern terminology below uses standard US crochet abbreviations.
- ch — chain
- sc — single crochet
- hdc — half double crochet
- sl st — slip stitch
- st — stitch
- sts — stitches
- sk — skip
- rep — repeat
- BLO — back loop only
Understanding the Even Moss Stitch
The even moss stitch creates a textured fabric by alternating basic crochet stitches and spaces.
A typical moss-style sequence uses combinations of single crochet and chain spaces.
The important thing is to maintain the same stitch rhythm throughout the project.
Keep your tension consistent and make sure your chain spaces remain approximately the same size.
This gives the finished sweater its characteristic small, woven-looking texture.
Make a Gauge Swatch First
Before beginning the sweater, make a small swatch using your chosen yarn and hook.
Measure both:
- Stitch gauge
- Row gauge
This step is particularly important for baby clothing.
Even a small difference in gauge can significantly change the finished dimensions of a small garment.
If your swatch is too large, try a smaller hook.
If your swatch is too small, try a larger hook.
Baby Sweater Sizing
Baby sizes can vary considerably between children, so use measurements rather than age alone whenever possible.
A practical size range can include:
| Size | Approx. Age | Approx. Chest |
|---|---|---|
| Small | 0–3 months | 17–18 in |
| Medium | 3–6 months | 18–19 in |
| Large | 6–12 months | 19–20 in |
| Toddler | 12–24 months | 20–21 in |
These are approximate garment-planning measurements rather than guaranteed body measurements.
For the best fit, measure an existing baby sweater that fits well and use it as a reference.
Crochet the Sweater Body
The sweater can be constructed from simple rectangular or shaped sections, depending on the design you prefer.
Begin with your foundation chain.
Work the even moss stitch pattern across the row.
Continue working back and forth until the piece reaches the desired body length.
Keep checking the width as you work.
The body should have enough ease to allow comfortable movement without becoming excessively oversized.
Creating the Front and Back
If you’re constructing the sweater from separate pieces, make the front and back panels to the same width.
Keep the stitch pattern aligned between the two pieces.
This creates a more professional appearance when the sweater is assembled.
For the neckline, leave the required opening according to your chosen size.
The back can have a slightly higher neckline than the front if you want a traditional sweater shape.
Joining the Shoulders
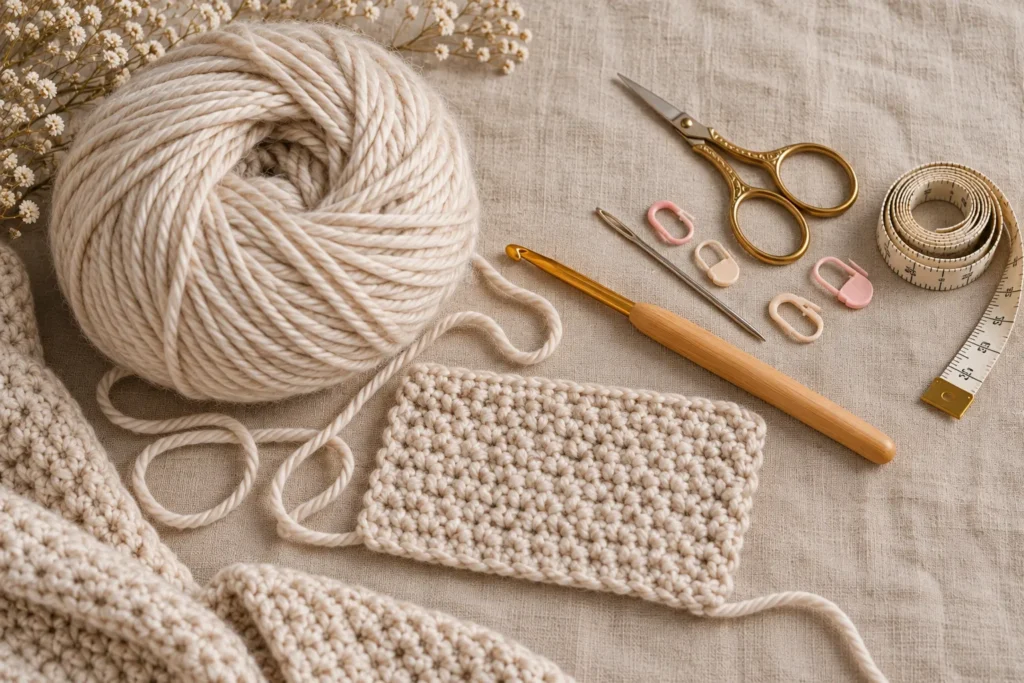
Once the front and back pieces are complete, place them together with the right sides aligned.
Join the shoulder sections using either:
- Slip stitches
- Single crochet
- Mattress-style sewing
A sewn seam can create a particularly neat finish.
Don’t make the shoulder seam excessively tight.
A flexible seam is more comfortable and allows the garment to move naturally.
Creating the Armholes
Leave the appropriate opening for the sleeves.
Use stitch markers to identify where the sleeve begins.
Keeping both armholes the same size is important for symmetry.
Measure them before attaching the sleeves.
Crochet the Sleeves
The sleeves can be worked separately and then attached to the body.
Start at the upper sleeve and work toward the cuff.
Continue the even moss stitch throughout the sleeve.
As you approach the wrist, gradually reduce the width if you want a slightly tapered sleeve.
Alternatively, keep the sleeve straight for a relaxed oversized look.
Adding the Cuffs
A simple ribbed cuff gives the sweater a polished finish.
One easy option is to work several rows of single crochet through the back loop.
This produces a flexible ribbed texture.
The cuff can be:
- Short and simple
- Wide and folded
- Contrasting in color
- Worked in the same yarn
For a minimalist sweater, matching the cuff to the body usually gives the cleanest appearance.
Finishing the Neckline
The neckline is one of the most noticeable finishing details.
Work a neat round of single crochet around the opening.
If you want more structure, add another round.
For a contrasting design, switch to a second color for the final round.
Avoid making the neckline too tight.
It should comfortably accommodate the baby’s head.
Weaving in the Ends
After assembling the sweater, carefully weave all loose yarn tails into the wrong side of the fabric.
Work the needle through several stitches in different directions.
Trim the excess yarn only after the tail is securely anchored.
Baby garments receive a lot of movement and washing, so secure finishing is especially important.
Blocking the Sweater
Blocking can make a major difference to the final appearance.
Gently dampen the finished sweater according to your yarn’s care instructions.
Lay it flat on a clean surface.
Shape the shoulders, sleeves, cuffs, and body.
Allow it to dry completely.
Blocking can help:
- Even out stitches
- Straighten edges
- Improve symmetry
- Define the moss texture
- Give the sweater a more finished appearance
Color Ideas
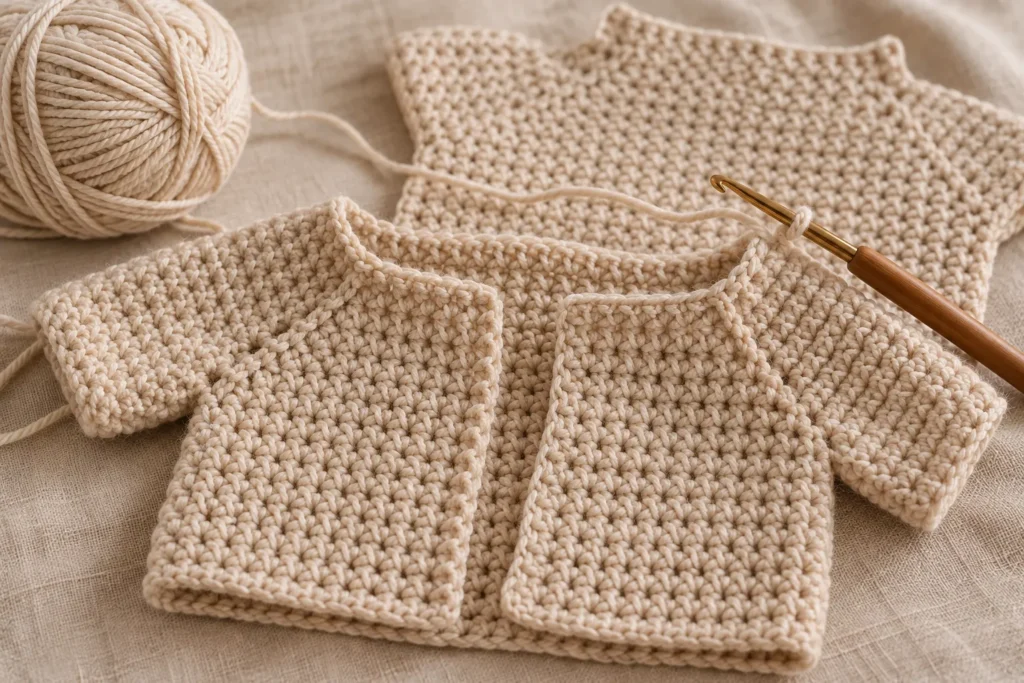
Classic Cream
Use cream throughout the sweater for a timeless neutral baby garment.
Oatmeal and Ivory
Use oatmeal for the body and ivory for the cuffs and neckline.
Sage Green
A muted sage creates a modern natural look.
Dusty Blue
Pair dusty blue with cream for a classic combination.
Blush Pink
A muted blush creates a soft feminine palette without being overly bright.
Two-Tone Neutral
Try beige for the body with warm brown or ivory edging.
How to Customize the Sweater
One advantage of crocheting your own baby sweater is that you can adjust almost every detail.
Change the Length
Add or remove rows to create a cropped, standard, or longer sweater.
Change the Sleeve Length
Make short sleeves for warmer weather or extend them for winter.
Make an Oversized Version
Add a little extra ease around the body for a relaxed sweater silhouette.
Add Stripes
Change colors every few rows to create horizontal stripes.
Use a Contrasting Border
A contrasting neckline and cuff can make a simple sweater look much more finished.
Add a Pocket
A small front pocket can add a playful detail, although it should be securely constructed and free of loose decorations.
Tips for Better Crochet Garments
Keep Both Sleeves Identical
Record the number of rows used for the first sleeve.
Then repeat exactly the same process for the second.
Measure as You Work
Don’t wait until the sweater is completely finished to discover that the dimensions are wrong.
Check the body, sleeve, neckline, and armhole measurements throughout construction.
Use Stitch Markers
Markers are especially helpful when shaping the neckline and armholes.
Don’t Crochet Too Tightly
Baby sweaters should remain soft and flexible.
Very tight stitches can make the garment stiff and uncomfortable.
Match Your Seams
Before joining pieces, lay them flat and compare their dimensions.
Small differences are much easier to correct before sewing.
Common Problems
The Sweater Is Too Small
Your gauge may be tighter than expected.
Try using a larger hook or increasing the number of stitches.
The Sweater Is Too Large
Use a smaller hook or reduce the number of stitches and rows.
The Moss Stitch Looks Uneven
Check your chain spaces and stitch placement.
Uneven tension can also make the texture appear inconsistent.
The Sleeves Don’t Match
Count the rows of the first sleeve and record the measurements before starting the second.
The Neckline Is Too Tight
Remove a round or increase the opening slightly.
The neckline should allow comfortable dressing without stretching excessively.
Baby Garment Safety
When making clothing for babies, keep the design simple and secure.
Avoid loose decorative pieces that could detach.
Check the finished sweater carefully for:
- Loose yarn tails
- Unsecured buttons
- Loose appliqués
- Sharp accessories
- Excessively tight openings
Wash the finished garment according to the yarn manufacturer’s care instructions before gifting it.
Frequently Asked Questions
Is the even moss stitch difficult?
No. Once you understand the stitch repeat, it becomes a relatively repetitive texture. It is a good technique for crocheters who want to move beyond very basic single-crochet projects.
What yarn is best for a baby sweater?
Choose a soft, washable yarn that is comfortable against sensitive skin. DK-weight yarn is a useful option for a lightweight baby sweater.
Can I use cotton?
Yes. A soft cotton yarn can work well, particularly for warmer weather. Keep in mind that cotton behaves differently from wool or acrylic and may produce a different drape.
Can I make the sweater larger?
Yes. Adjust the foundation chain, number of rows, sleeve dimensions, and neckline according to the measurements you need.
How do I make the sweater more colorful?
Try stripes, contrasting cuffs, a different neckline color, or a two-tone body.
Can a beginner crochet this sweater?
The stitch itself is beginner-friendly, but assembling a garment requires additional skills such as measuring, shaping, joining, and finishing. Beginners can approach it by practicing the moss stitch with a small swatch first.
Final Thoughts
The Crochet Even Moss Baby Sweater combines a simple stitch texture with the charm of a handmade baby garment. The subtle moss pattern gives the sweater visual interest while keeping the overall design clean and versatile.
Choose a soft neutral for a timeless wardrobe piece, or experiment with pastel shades and contrasting borders for a more playful design. Once you’ve made one sweater, the same construction principles can be adapted to create different sizes, sleeve lengths, colors, and personalized baby garments.