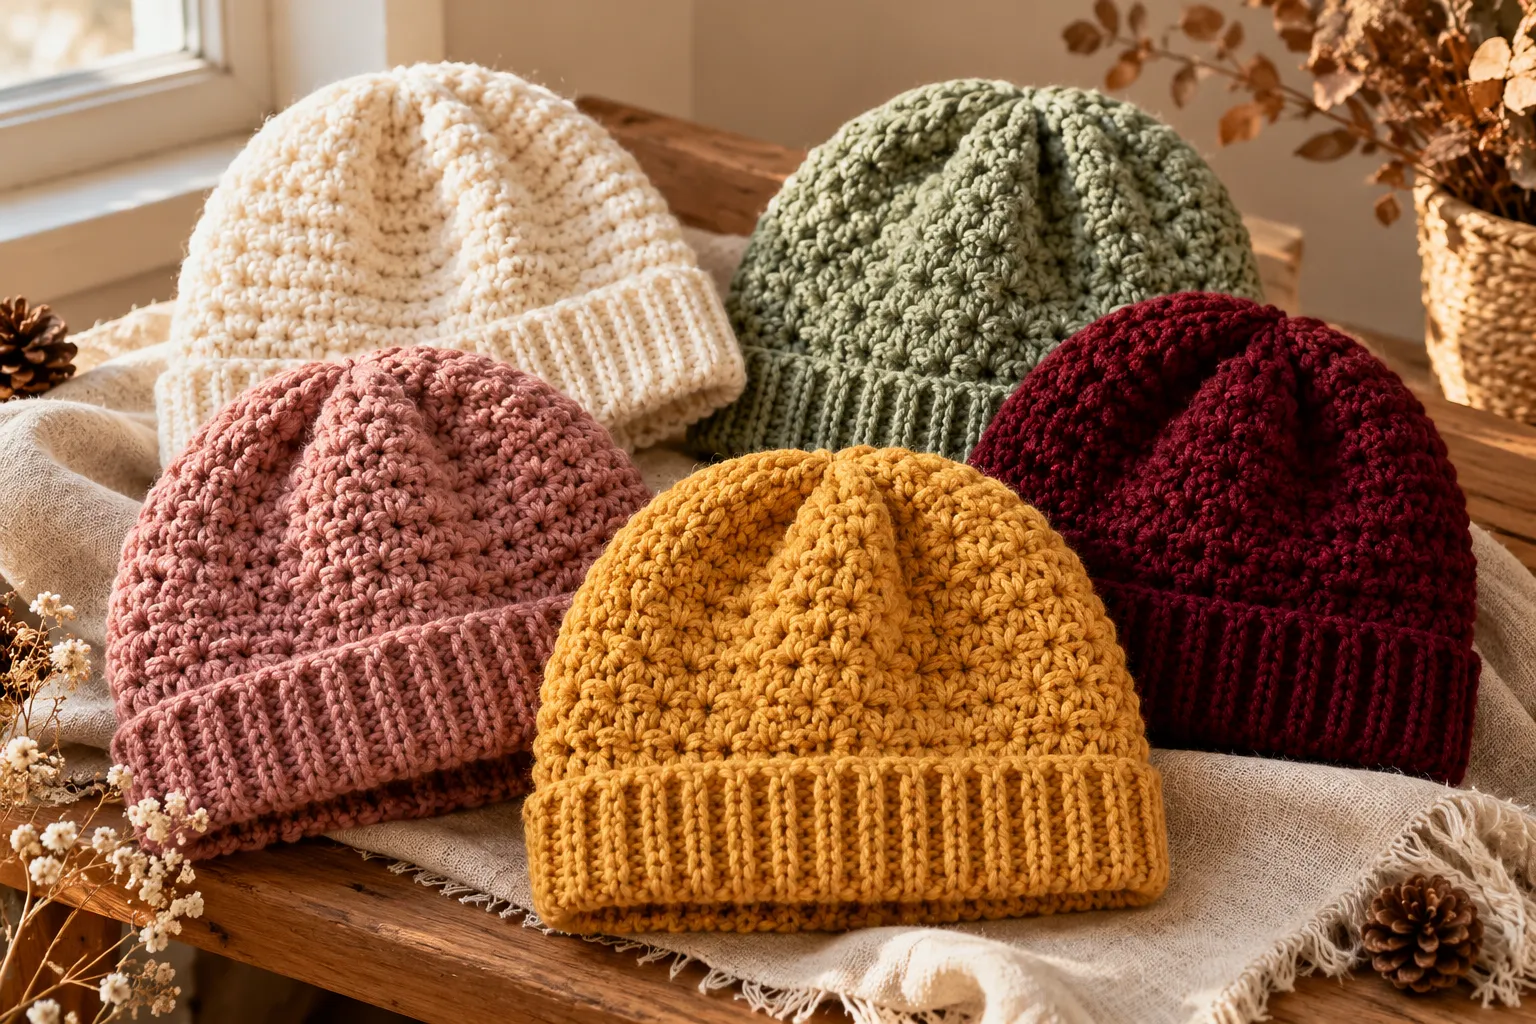
An easy crochet beanie is one of those projects that is simple enough for beginners but useful enough to become a handmade wardrobe staple. With basic stitches, a small amount of yarn, and a little time, you can create a warm, comfortable hat that can be customized for different sizes, colors, and styles.
This beginner-friendly pattern uses straightforward construction and includes sizing information, stitch instructions, yarn recommendations, customization ideas, and troubleshooting tips so you can confidently make your own crochet beanie.
Why You’ll Love This Crochet Beanie Pattern
This pattern is designed to be practical and beginner-friendly.
- Uses basic crochet stitches
- Great for beginners
- Works with several yarn weights
- Easy to customize
- Suitable for adults and children
- Uses relatively little yarn
- Makes a thoughtful handmade gift
- Can be finished in a weekend
- Easy to make in multiple colors
The finished beanie has a comfortable, slightly stretchy fit and can be worn with the brim folded upward or left slightly slouchy.
Materials You’ll Need
| Material | Recommendation |
|---|---|
| Yarn | Worsted-weight yarn |
| Yarn amount | Approximately 150–220 yards |
| Crochet hook | 5–5.5 mm |
| Yarn needle | For weaving ends |
| Scissors | For finishing |
| Stitch marker | Optional |
| Measuring tape | Recommended |
For a softer winter beanie, choose a yarn containing wool, acrylic, merino, or a blend.
For a washable everyday hat, acrylic or a washable wool blend can be practical choices.
Crochet Abbreviations
| Abbreviation | Meaning |
|---|---|
| ch | Chain |
| sl st | Slip stitch |
| sc | Single crochet |
| hdc | Half double crochet |
| st | Stitch |
| BLO | Back loop only |
| rep | Repeat |
This pattern primarily uses half double crochet and simple ribbing.
Crochet Beanie Size Guide
Measure the head circumference before starting whenever possible.
| Size | Approx. Head Circumference | Finished Hat Circumference |
|---|---|---|
| Baby | 14–16 in | 12–14 in |
| Toddler | 17–18 in | 15–16 in |
| Child | 19–20 in | 17–18 in |
| Teen | 20–21 in | 18–19 in |
| Adult Small | 21–22 in | 19–20 in |
| Adult Medium | 22–23 in | 20–21 in |
| Adult Large | 23–24 in | 21–22 in |
The finished beanie should generally have some negative ease so it stretches comfortably around the head.
How to Measure Your Head
Wrap a measuring tape around the widest part of your head.
The tape should pass:
- Across the forehead
- Above the ears
- Around the widest part of the back of your head
Keep the tape comfortably snug without pulling it tightly.
Record the measurement before choosing your size.
Gauge
Gauge can vary depending on your yarn, hook, and tension.
As a starting point, aim for approximately:
14–16 half double crochet stitches = 4 inches
and approximately:
10–12 rows = 4 inches
Gauge isn’t the only factor that determines fit. Your finished circumference is particularly important for a beanie.
If your stitches are too loose, try a smaller hook.
If they’re too tight, try a larger hook.
Easy Crochet Beanie Pattern
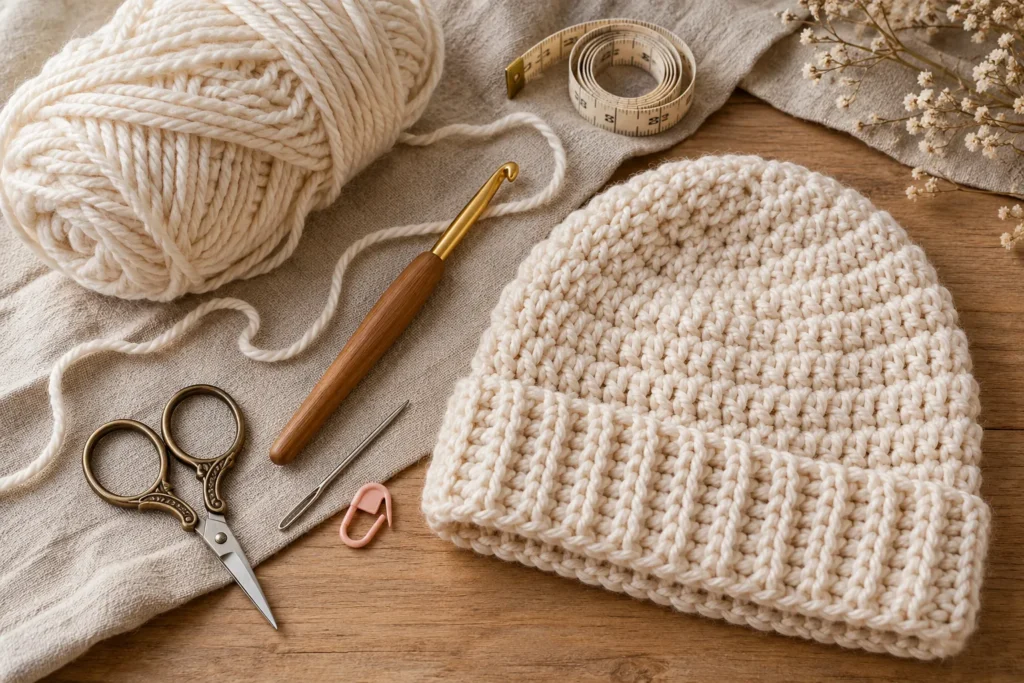
This version is worked from the bottom upward, making it particularly easy to adjust for different head sizes.
Step 1: Make the Ribbed Band
Chain approximately 11 stitches.
This chain determines the height of your ribbed brim.
Row 1
Work 1 single crochet into the second chain from the hook.
Continue working one single crochet across.
Chain 1 and turn.
Row 2
Work one single crochet through the back loop only into each stitch.
Chain 1 and turn.
Repeat
Continue repeating Row 2 until the band comfortably wraps around the intended head circumference.
Don’t stretch the band excessively while measuring.
The ribbed section should fit snugly but comfortably.
Step 2: Join the Band
Bring the two ends of the ribbed band together.
Slip stitch through both layers to join them.
You now have a circular ribbed band.
Turn the seam toward the inside.
Step 3: Crochet the Body
Join your yarn to the top edge of the ribbed band.
Work half double crochet stitches evenly around the entire opening.
Join with a slip stitch at the end of the round.
Round 1
Chain 1.
Work 1 hdc in each stitch around.
Join with a slip stitch.
Round 2
Chain 1.
Work 1 hdc in each stitch around.
Join.
Rounds 3–8
Continue working one hdc into each stitch around.
The exact number of rounds depends on the size of the hat and the desired amount of coverage.
For a fitted beanie, stop when the hat reaches approximately the top of the ears and begins approaching the crown.
For a slightly slouchy style, add a few additional rounds.
Step 4: Shape the Crown
Once the beanie reaches the desired height, begin decreasing.
Decrease Round
Chain 1.
Work one hdc in the next several stitches.
Then work a half-double-crochet decrease over the next two stitches.
Continue this sequence around the hat.
Join with a slip stitch.
Next Round
Work hdc around, decreasing at evenly spaced intervals.
Continue decreasing gradually until only a small opening remains at the top.
Step 5: Close the Crown
Cut the yarn, leaving a long tail.
Thread the tail onto a yarn needle.
Weave the needle through the remaining stitches around the crown.
Pull gently to close the opening.
Secure the yarn firmly on the inside.
Weave in the remaining end.
Step 6: Shape the Beanie
Turn the beanie right side out.
Gently stretch it with your hands to even out the stitches.
If necessary, lightly block the hat to improve its shape.
Avoid stretching it excessively.
How to Make the Beanie More Slouchy
If you prefer a relaxed, oversized style, simply add additional rounds before beginning the crown decreases.
For example:
Fitted beanie: approximately 7–8 body rounds
Classic beanie: approximately 8–10 body rounds
Slouchy beanie: approximately 10–14 body rounds
These numbers are only starting points because yarn, tension, and head size all affect the finished height.
How to Make a Folded Brim
A folded brim gives the beanie a more substantial winter look.
Instead of making a narrow band, increase the height of your ribbed section.
You can then fold the brim upward once the hat is finished.
For a more structured cuff, use several rows of single crochet through the back loop.
How to Add a Pom-Pom
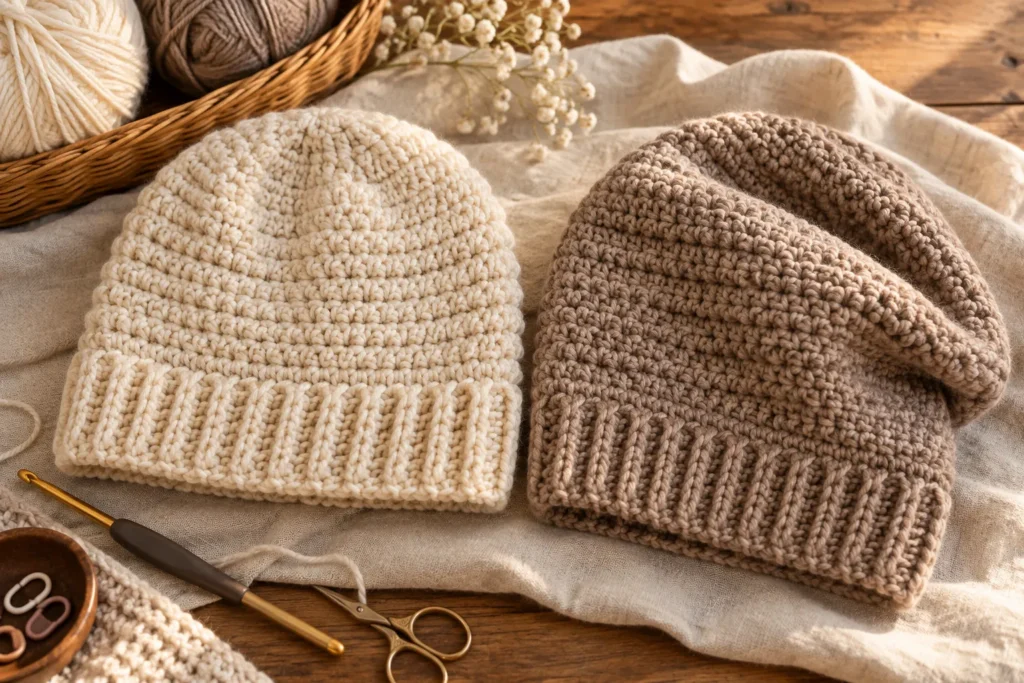
A pom-pom can make a simple beanie look completely different.
You can use:
- Matching yarn
- Contrasting yarn
- Faux fur
- Multiple colors
Attach the pom-pom securely to the crown.
If the hat is intended for a young child, avoid loose decorative elements and follow age-appropriate safety considerations.
Yarn Color Ideas
A simple beanie looks beautiful in both neutral and colorful yarn.
| Style | Color Combination |
|---|---|
| Minimalist | Cream |
| Classic | Charcoal |
| Cozy Neutral | Beige + camel |
| Autumn | Rust + mustard |
| Feminine | Dusty rose |
| Winter | Ivory + gray |
| Botanical | Sage + cream |
| Bold | Burgundy |
| Playful | Two-tone stripes |
One-Color Beanie
A single shade emphasizes the texture of your stitches.
Cream, taupe, oatmeal, gray, brown, and black are especially versatile.
Two-Color Beanie
Change colors every few rounds for a simple striped effect.
Try:
Cream + caramel
or
Sage + ivory
for a subtle modern look.
How to Make a Striped Crochet Beanie
You don’t need a different pattern to create stripes.
Simply change yarn colors at the end of selected rounds.
For example:
- Rounds 1–3: Cream
- Rounds 4–6: Caramel
- Rounds 7–9: Cream
- Crown: Caramel
This creates a simple horizontal stripe pattern.
How to Make a Chunky Crochet Beanie
For a quicker winter project, use bulky or super-bulky yarn.
Choose a hook appropriate for your yarn.
The construction remains similar, but you’ll need fewer rounds because the stitches are much larger.
Check the fit frequently rather than relying on the number of rounds from a worsted-weight version.
How to Make a Child-Sized Beanie
The same basic construction can be adapted for children.
The most important measurement is head circumference.
Make the ribbed band slightly smaller than the head circumference so it stretches comfortably.
Don’t rely solely on age because children’s head sizes vary.
Common Crochet Beanie Problems
My Beanie Is Too Loose
If the finished hat doesn’t stay comfortably on the head:
- Reduce the circumference.
- Use a smaller hook.
- Increase the amount of negative ease.
- Check your gauge.
My Beanie Is Too Tight
Try:
- A larger hook
- A longer ribbed band
- Looser tension
- More foundation stitches
My Crown Looks Pointy
Too few decreases or uneven decrease placement can create a pointed crown.
Distribute decreases more evenly around the hat.
My Beanie Looks Too Short
Add additional body rounds before beginning the crown decreases.
My Beanie Is Curling
Some curling can come from tension.
Try blocking the finished piece and checking whether your hook size is appropriate for the yarn.
How to Make the Beanie Softer
The yarn you choose has a major impact on the finished feel.
Look for:
- Merino wool
- Acrylic blends
- Alpaca blends
- Soft cotton blends
- Premium anti-pilling acrylic
For a winter hat, choose a yarn that feels comfortable directly against the forehead.
How Much Yarn Does a Crochet Beanie Need?
A standard adult beanie often requires approximately 150–220 yards of medium-weight yarn.
A larger or slouchier design may require more.
Bulky yarn may require fewer yards because the stitches are larger, but always check the specific yarn label and make a small gauge sample.
How to Care for Your Crochet Beanie
Care depends on your yarn.
Always follow the yarn manufacturer’s washing instructions.
For many handmade hats:
- Wash gently
- Avoid excessive agitation
- Don’t wring
- Reshape while damp
- Air dry flat when recommended
Avoid high heat unless the yarn specifically allows it.
Crochet Beanie Gift Ideas
A handmade beanie makes a thoughtful winter gift.
You can personalize it by choosing the recipient’s favorite:
- Color
- Brim style
- Pom-pom
- Yarn texture
- Fit
Create matching sets for family members using different colors.
A beanie can also be paired with:
- Crochet scarf
- Fingerless gloves
- Ear warmer
- Crochet cowl
- Matching headband
Beginner Tips for Your First Crochet Beanie
If this is your first hat, keep things simple.
Start with a medium-weight yarn and a comfortable hook.
Avoid highly textured or fuzzy yarn until you’re comfortable reading your stitches.
Count your stitches regularly.
Most importantly, try the hat on or measure it against the intended head size as you work.
It is much easier to correct the size halfway through than after the hat is finished.
Frequently Asked Questions
Is this crochet beanie suitable for beginners?
Yes. The pattern uses basic crochet techniques and simple shaping, making it a good project for someone who already knows basic stitches.
What yarn is best for a crochet beanie?
Worsted-weight acrylic, wool, merino, or blended yarn can all work well. Choose a soft yarn that feels comfortable against the skin.
How long does it take to crochet a beanie?
A simple adult beanie can often be completed in a few hours, depending on your experience, yarn weight, and pattern complexity.
How do I make a crochet beanie fit better?
Measure the head circumference and compare it with the finished circumference of your hat. Crochet beanies generally benefit from a small amount of negative ease so they stretch comfortably.
Can I use chunky yarn?
Yes. Chunky yarn is excellent for making warm winter beanies quickly. You’ll simply need to adjust the hook size and number of rounds.
Can I make this beanie without a pom-pom?
Absolutely. The basic beanie looks clean and classic without any additional decoration.
How do I make a slouchy beanie?
Add extra rounds to the body before starting the crown decreases.
Final Thoughts
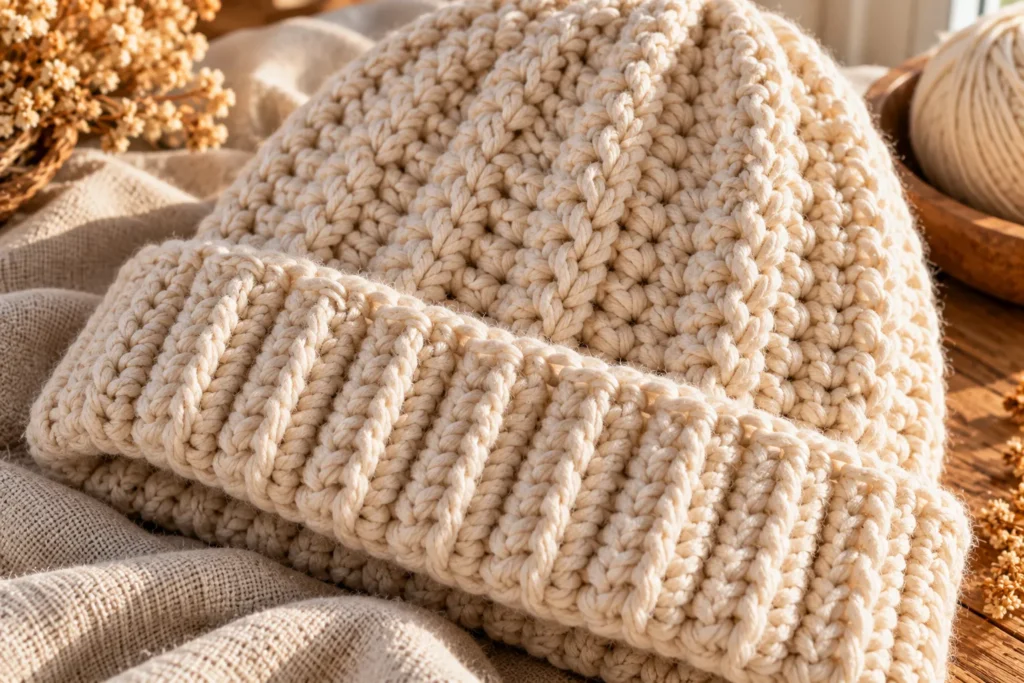
This easy crochet beanie pattern is a versatile project that can be adapted for almost any style.
Once you’ve made the basic version, experiment with chunky yarn, stripes, folded brims, pom-poms, neutral palettes, or seasonal colors.
The best part is that one simple construction can become an entire collection of handmade hats.
Start with a classic cream or neutral beanie, then try a warm autumn version in rust, mustard, or burgundy. With the same basic techniques, you can create handmade hats for yourself, your family, or thoughtful winter gifts.