Simple Granny Square Triangle Bandana Crochet Pattern
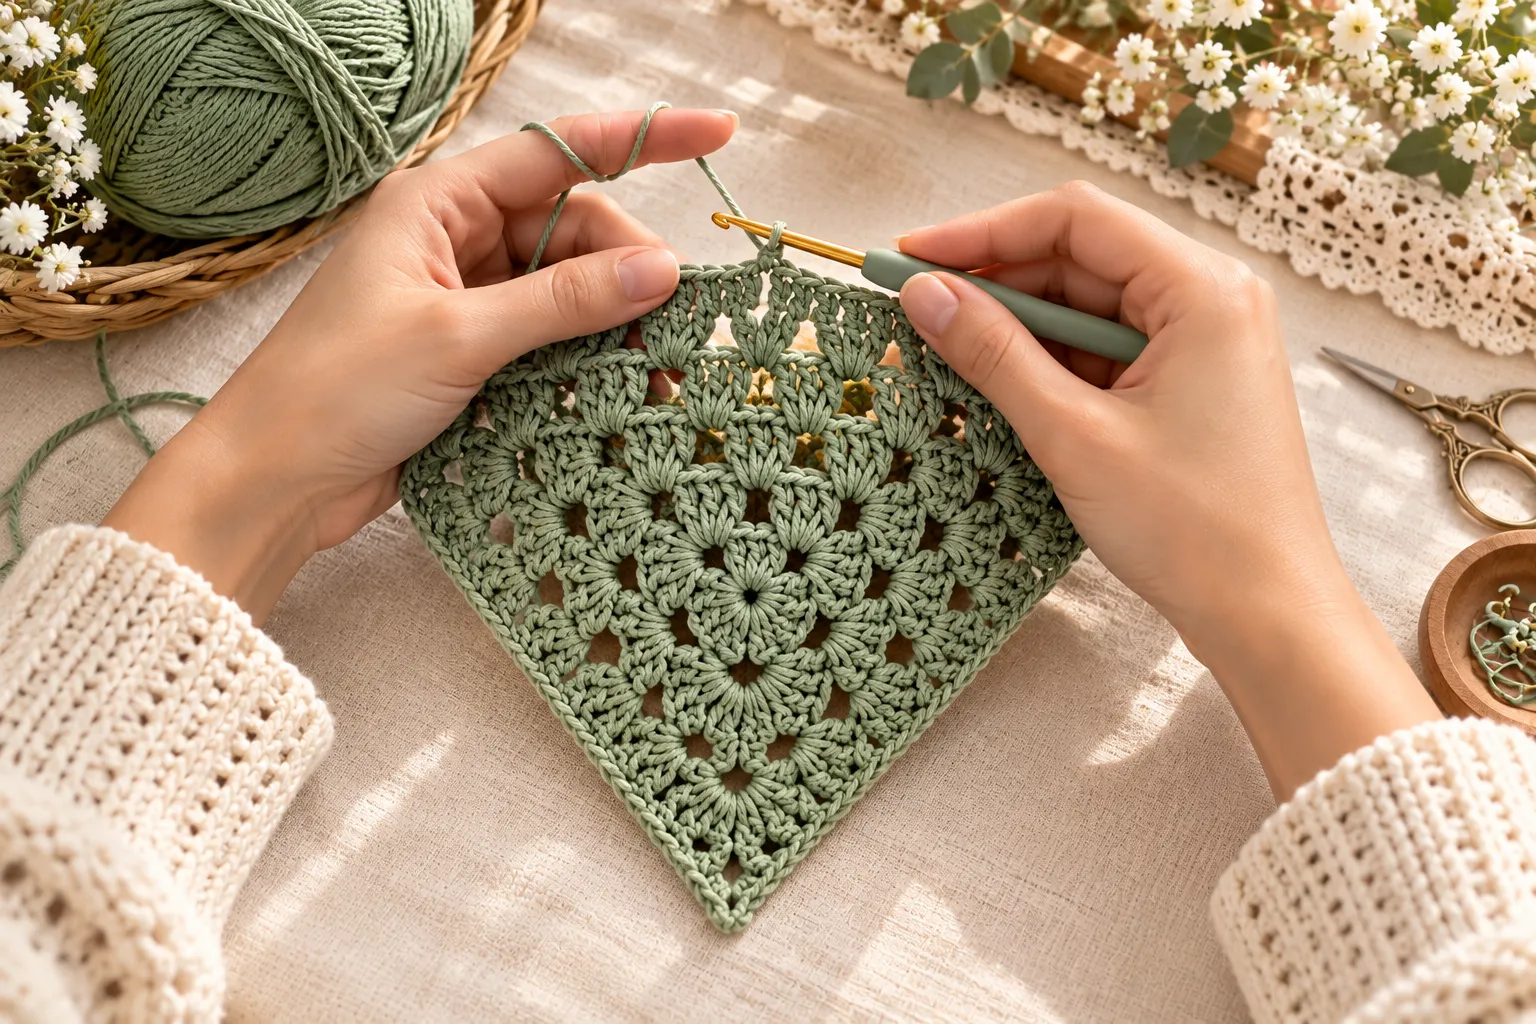
A granny square triangle bandana is a stylish, beginner-friendly crochet accessory that combines the classic granny-square look with the shape of a traditional triangular headscarf. It is quick to make, easy to customize, and perfect for adding a handmade touch to everyday outfits.
This pattern is especially useful if you love colorful crochet projects but want something smaller and faster than a blanket or garment. You can make it in one solid color, combine several shades, or use leftover yarn from other projects.
Why Crochet a Granny Square Triangle Bandana?
This project is a great choice for crocheters who want something:
- Quick to finish
- Beginner-friendly
- Easy to customize
- Lightweight
- Stylish
- Suitable for different seasons
- Perfect for using leftover yarn
The classic granny-square texture gives the bandana a nostalgic handmade appearance, while the triangular shape makes it easy to wear around the head.
Granny Square Triangle Bandana Overview
| Feature | Details |
|---|---|
| Skill level | Beginner |
| Shape | Triangle |
| Main stitch | Granny clusters |
| Construction | Center-out triangle |
| Yarn | Cotton or cotton blend |
| Hook | Approximately 3.5–4.5 mm |
| Customization | Very easy |
| Best for | Hair accessory, head covering, fashion |
| Style | Boho, cottagecore, vintage |
Materials You’ll Need
Yarn
Cotton is an excellent choice because it is:
- Lightweight
- Breathable
- Easy to wash
- Comfortable against the skin
- Easy to crochet with
A cotton-acrylic blend can also work if you prefer a softer drape.
For a lightweight summer bandana, choose a fine or medium-weight yarn.
Crochet Hook
A 3.5 mm to 4.5 mm crochet hook is a good starting point.
Choose your hook based on your yarn and desired fabric.
For a softer, drapier bandana, you can use a slightly larger hook.
For a more structured bandana, choose a slightly smaller hook.
Additional Supplies
You’ll also need:
- Scissors
- Yarn needle
- Measuring tape
- Stitch markers if desired
Crochet Abbreviations
| Abbreviation | Meaning |
|---|---|
| ch | Chain |
| sl st | Slip stitch |
| sc | Single crochet |
| dc | Double crochet |
| st | Stitch |
| sp | Space |
| rep | Repeat |
The pattern mainly uses double crochet granny clusters, chains, and slip stitches.
Understanding the Triangle Shape
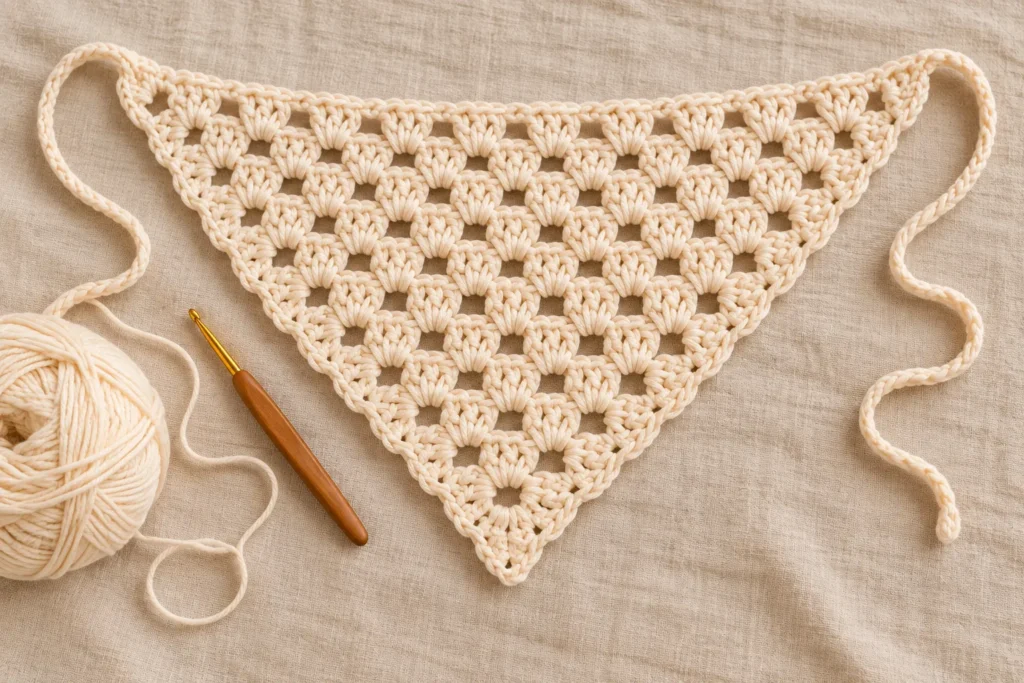
Unlike a traditional square granny square, this project grows from the center toward the two lower corners.
The basic idea is simple:
Start small → increase on both sides → create a larger triangle → add ties and edging.
This construction makes it easy to stop whenever the bandana reaches the size you want.
Simple Granny Square Triangle Bandana Pattern
Step 1: Create the Starting Chain
Begin with a foundation chain.
For a small bandana, use a shorter starting chain.
For a larger bandana, increase the starting length.
The exact number can be adjusted according to your desired finished width.
Create the foundation carefully and avoid twisting it.
Step 2: Begin the First Granny Row
Work your first granny clusters into the appropriate chain spaces.
A typical granny cluster consists of:
3 double crochet stitches
The chain spaces separate each cluster and create the familiar open granny-square texture.
Keep your tension relaxed.
Step 3: Create the Center Point
The center of the triangle is important because it determines the shape of the bandana.
Work the center section with enough chain space to create a noticeable point.
As you continue, the two sides will grow outward from this center.
Step 4: Increase Along the Sides
Continue adding granny clusters while increasing at the edges.
Each new row should make the triangle wider.
A simple growth structure is:
Cluster → chain space → cluster → center increase → cluster → chain space → cluster
Repeat the same basic structure across subsequent rows.
The exact stitch count will depend on the yarn weight and size you choose.
How to Keep the Triangle Symmetrical
Symmetry is one of the most important parts of this project.
After each row:
- Count your clusters.
- Check both sides.
- Confirm the center point is aligned.
- Make sure your edge increases match.
If one side becomes wider than the other, correct the mistake before continuing.
A stitch marker can be helpful for identifying the center.
How Large Should the Bandana Be?
The ideal size depends on how you want to wear it.
Small Bandana
Approximately 45–50 cm wide
Great for:
- Children
- Small head wraps
- Decorative hair accessories
Medium Bandana
Approximately 55–65 cm wide
A versatile adult size suitable for tying around the head.
Large Bandana
Approximately 65–75 cm wide
Useful if you prefer more coverage or a looser drape.
Always measure the finished piece rather than relying exclusively on row count.
Creating the Bandana Ties
The ties are what allow the triangle bandana to stay securely on the head.
At each upper corner, attach yarn and crochet a chain long enough to tie comfortably.
A starting point might be around:
25–35 cm per tie
Adjust according to your preference.
You can finish the ties with:
- Simple chains
- Slip stitches
- Small crochet flowers
- Tassels
- Tiny pom-poms
For a minimalist design, plain chain ties are usually the cleanest option.
Adding a Decorative Border
A border can give the bandana a much more finished appearance.
Simple Single Crochet Border
Work a round of single crochet around the outer edges.
This creates:
- Stability
- Clean edges
- Better definition
Scalloped Border
For a more feminine appearance, try a small scalloped edge.
This works beautifully around:
- The two upper edges
- The triangle point
- The side edges
Picot Border
A picot edging adds a delicate vintage appearance.
It works especially well with:
- Cream
- White
- Soft pink
- Sage
- Dusty blue
Granny Square Color Ideas
One of the best features of this pattern is how easy it is to customize the colors.
Classic Cream
A solid cream bandana creates a timeless, minimalist accessory.
Sage Green
Perfect for a soft cottagecore aesthetic.
Dusty Pink
A romantic and feminine option.
Terracotta
Warm and earthy, ideal for autumn outfits.
Black and Cream
A sophisticated modern combination.
Multicolor Granny Stripes
Use a different color for each row to emphasize the granny-square structure.
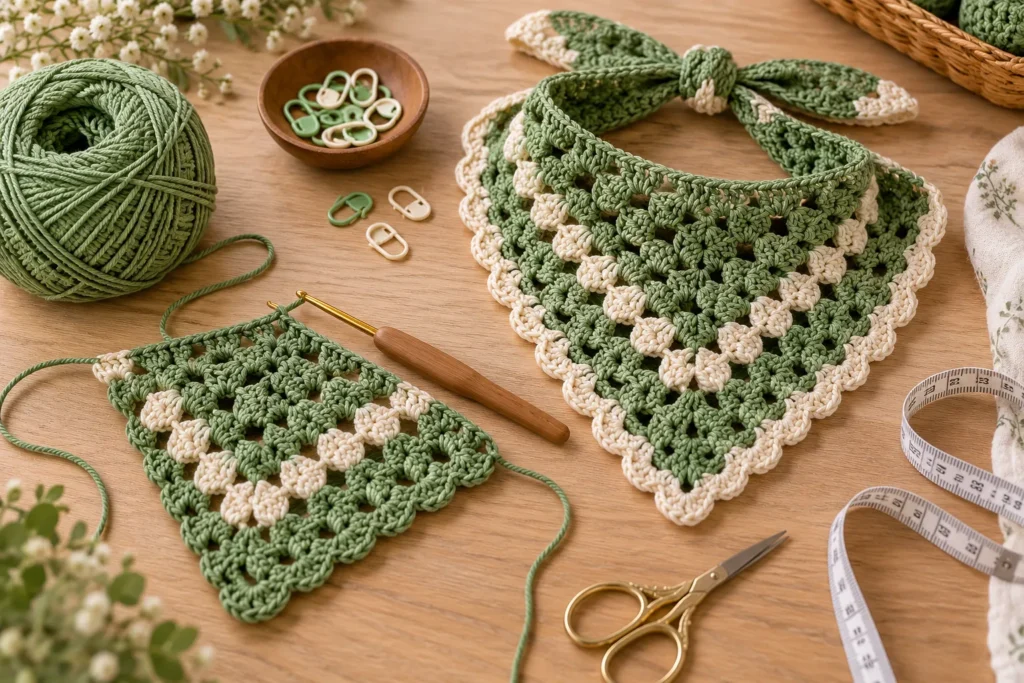
Two-Color Granny Triangle Bandana
A two-color version is particularly easy to style.
Try:
Cream + sage
White + burgundy
Beige + brown
Lavender + cream
Black + ivory
Use one color for the main body and another for the border.
This creates contrast without making the design too busy.
Multicolor Granny Square Bandana
If you have leftover yarn, this is an excellent scrap-yarn project.
Choose 4–6 colors that work together.
For example:
- Cream
- Sage
- Mustard
- Terracotta
- Dusty rose
- Brown
Repeat the colors throughout the rows to create a coordinated appearance.
How to Make the Bandana Bigger
To increase the size, simply continue adding rows.
Because the pattern grows outward, you can stop when the bandana reaches the desired width.
For a larger head covering, continue until the upper edge comfortably reaches around the head.
Measure the piece frequently while working.
How to Make a Smaller Bandana
Stop after fewer rows.
You can also use:
- A smaller hook
- Lightweight yarn
- Shorter ties
For children, always measure the head circumference before deciding the final dimensions.
How to Create a More Structured Bandana
If you want the bandana to hold its shape better:
- Use cotton yarn
- Choose a slightly smaller hook
- Maintain consistent tension
- Add a firm single-crochet border
Blocking can also improve the final shape.
How to Create a Softer Bandana
For a relaxed drape:
- Use soft cotton
- Choose a slightly larger hook
- Avoid tight tension
- Use fewer border stitches
A softer bandana is especially comfortable for casual summer styling.
Blocking the Finished Bandana
Blocking is optional but highly recommended.
It can help:
- Straighten the edges
- Define the triangle
- Improve symmetry
- Open the granny stitches
- Create a polished appearance
Simple Blocking Method
- Lightly dampen the finished bandana.
- Lay it flat.
- Shape the triangle carefully.
- Straighten the edges.
- Secure with blocking pins.
- Allow it to dry completely.
Avoid stretching it aggressively.
Styling a Granny Square Triangle Bandana
A crochet triangle bandana can be worn in several ways.
Classic Headband Style
Fold the bandana so the triangle sits toward the back of the head.
Tie the two ends securely underneath or behind the head.
This creates an easy everyday look.
Triangle Head Scarf
Leave the triangular point visible at the back.
This is one of the most recognizable ways to wear the accessory.
Hair Wrap
Use the bandana to cover most of the hair.
This works particularly well with larger versions.
Neck Accessory
A small triangle bandana can also be worn loosely around the neck.
Pair it with a simple blouse, jeans, or a neutral dress.
Outfit Ideas
Casual Summer Outfit
Pair a cream or sage bandana with:
- White T-shirt
- High-waisted jeans
- Simple sandals
Cottagecore Outfit
Try:
- Floral dress
- Crochet bandana
- Basket bag
- Simple sandals
Boho Outfit
Combine:
- Wide-leg trousers
- Loose blouse
- Multicolor granny bandana
- Natural accessories
Autumn Outfit
Use a warm-toned bandana with:
- Brown cardigan
- Cream top
- Denim
- Ankle boots
Matching Crochet Accessories
You can turn the bandana into part of a larger handmade collection.
Try making matching:
- Crochet scrunchies
- Hair bows
- Headbands
- Bags
- Flower clips
- Tote bags
- Mini scarves
Using the same color palette makes the collection look cohesive.
Common Mistakes and How to Fix Them
The Triangle Is Crooked
Cause: Uneven increases.
Solution: Count your stitches and compare both sides after every row.
The Edges Curl
Cause: Tight tension.
Solution: Relax your tension or use a slightly larger hook.
The Bandana Is Too Stiff
Cause: Hook is too small or yarn is too rigid.
Solution: Try a larger hook or softer yarn.
The Bandana Is Too Loose
Cause: Hook is too large.
Solution: Use a smaller hook.
The Center Point Looks Uneven
Cause: The center increase is inconsistent.
Solution: Mark the center and carefully repeat the same increase structure.
The Border Looks Wavy
Cause: Too many stitches around the edge.
Solution: Reduce the number of border stitches or use a simpler edging.
Beginner Tips for Better Results
Count Your Rows
Keep track of every completed row.
Mark the Center
A stitch marker makes the triangular construction easier to manage.
Keep Tension Consistent
Consistent tension creates cleaner granny clusters.
Don’t Skip the Gauge
Even small differences in tension can significantly affect the finished size.
Weave in Ends Carefully
Use a yarn needle to secure loose ends through several stitches.
Block the Finished Piece
Blocking can make a handmade project look much more professional.
Seasonal Crochet Bandana Ideas
Spring
Try:
- Mint
- Sage
- Lavender
- Soft pink
- Cream
Add small crochet flowers.
Summer
Choose:
- White
- Beige
- Lemon yellow
- Sky blue
- Coral
Use lightweight cotton yarn.
Fall
Try:
- Rust
- Terracotta
- Mustard
- Olive
- Chocolate brown
Winter
Choose:
- Burgundy
- Forest green
- Cream
- Deep brown
A slightly thicker yarn can create a warmer accessory.
Frequently Asked Questions
Is this granny square triangle bandana beginner-friendly?
Yes. The project mainly uses basic crochet stitches and granny clusters, making it a good project for someone who already knows chains and double crochet.
What yarn is best?
Cotton is an excellent choice because it is breathable, lightweight, and easy to care for.
Can I make the bandana without a border?
Yes. A border is optional, although it can help stabilize and define the edges.
Can I use leftover yarn?
Absolutely. The project is perfect for using small amounts of leftover yarn.
Can I make it for children?
Yes. Simply reduce the number of rows and adjust the ties according to the child’s head measurement.
Can I make a larger adult version?
Yes. Continue adding rows until you reach your preferred dimensions.
How long does this project take?
Because it is relatively small, an experienced crocheter can often complete it much faster than a large crochet garment or blanket.
Can I sell finished bandanas?
If you are using your own original design, you can generally sell the finished pieces. If you are following someone else’s published pattern, check the designer’s terms before selling finished products.
Final Thoughts
The simple granny square triangle bandana is one of those crochet projects that looks more complicated than it really is. With basic granny clusters, consistent increases, and a neat border, you can create a stylish handmade accessory in a relatively short amount of time.
The best part is the customization. Make it solid sage green for a minimalist look, combine cream and terracotta for a vintage feel, or use multiple colors to create a playful granny-square design.
Whether you’re making one for yourself, a child, a gift, or a handmade collection, this triangle bandana is a practical and beautiful crochet project to add to your repertoire.